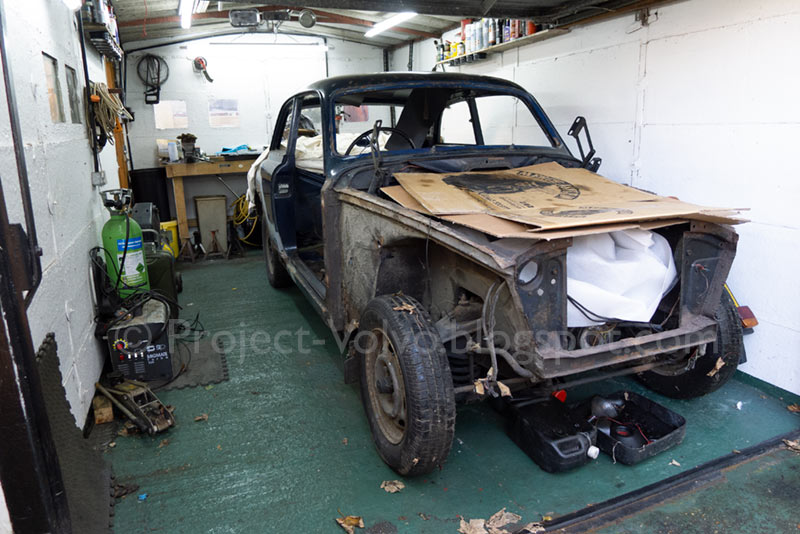
Well, the weather has finally caught up with me and I have run out of time to finish that boot (trunk) floor and spare wheel well repairs before the winter so I have decided to leave it to the spring (see previous post). I have now turned the car around so as to work on the off side issues, including the side cowl, bulkhead, front floor pan and rear inner sill. I have made a start on the cowl.
Another typical amazon rot issue is the side cowl. I think that this is a consequence of all that muck that gets thrown up and trapped behind the front wing, and the notorious leaking windscreen corners. The side cowl is under attack from inside and out. I had two areas to repair on the offside (having already repaired the nearside some time ago), the lower quarter, and the join between the cowl, the bulkhead (firewall) and the inner wing.
To begin, I used a heat gun and a scraper to remove as much of the old underseal as I could, finishing off with some panel wipe. I then marked the areas of the cowl to be replaced and cut out the lower section.
This is quite a large area but apart from the swagging it shouldn't be that complicated to make. However, as it will join onto the floor which also needs work, and there is some damage to the inner A pillar, I decided to tackle the smaller, upper repair area first. I removed the rotten part of the cowl, leaving the bulk head and inner wing panels in place to use for alignment.
Next I made card template and used it to cut a repair piece from 1mm steel recycled from an old boiler casing (see last post).
I then refined and shaped this by hammer forming, using a blunt coal chisel to create the pseudo swagging.

Once I was happy with this section, I put it to one side and started on the bulkhead and inner wing corrosion, drilling out relevant spot welds to separate the panels and cutting back to clean metal. This was tricky as some of the angles where too tight for a disc cutter and I had to resort to a hacksaw blade.
I made the bulkhead piece first and welded it into place...
...followed by the inner wing repair.
That was all I had time for on this particular day and I wasn't sure when I would be able to get back on it so I cleaned up the welds and gave it a coat of weld through etch primer.
It was over two weeks before I found a chance to get back into the garage and finish the job. Some additional shaping and refinement of the cowl repair piece was needed to achieve a good fit. It was then welding on and cleaned up with a sanding disc on an angle grinder.
A quick coat of primer and job done. I am not going to claim that the repair is completely 'invisible' because it isn't. Importantly it needs to be strong, and I am trying to be neat, but I don't think I have to be too precious about appearance as this area will be tucked up under the wing, out of sight and ultimately covered in underseal.
On then to the next job, the lower cowl and A pillar.


Comments
Post a Comment