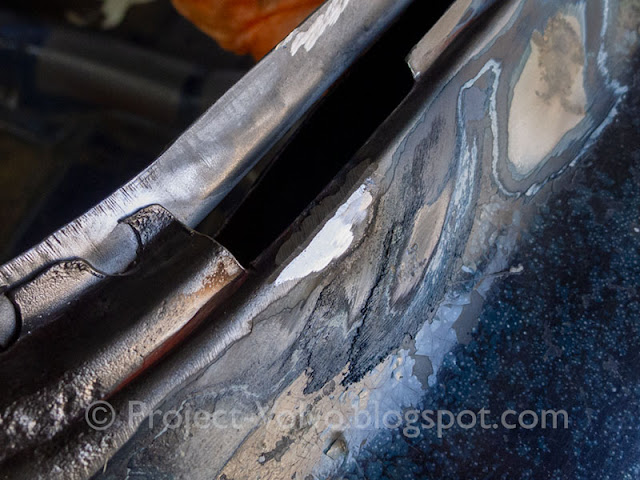
I have been busy attacking the offside windscreen surround on my 1970 Volvo Amazon. There is significant corrosion here, as illustrated above and in a previous post, and it has proved tricky to sort out. It’s not that there is a great deal of metal to replace, or that it has any structural issues, it is simple that the repair pieces are fiddly to make and fiddly to fit.
I started with what looked like the easiest bit, a straight section about half way up the roof pillar. The first issue I encountered was how to remove the rot. This is a tight, intricate area and there is not enough room to cut with a grinder or disc cutter. In the end I used a combination of drilling, filing and sawing with shortened piece of hacksaw blade.
I worked out that it was probably going to be difficult to make this tiny double folded section accurately in one piece, so I decided to do it in two pieces . I made the first one and offered it up; It fitted well, but then I promptly dropped it inside the box section! This led me having to cut out the corroded lower windscreen/dash area before I had intended, to retrieve the dropped piece.
After another five or six repeats of this 'offer up, drop, retrieve' cycle, I finally figured out that if I was to drill a small hole in the piece I could add a self tapping screw to hold it securely.
I tacked this in place, then repeated this procedure with the second piece...
...then plugged up the screw holes, welded along the joins and ground back. (I am still not doing any filling at this stage, so I dusted the repair over with some zinc primer, just to give a bit of protection from flash rusting.)
So far, so good. The next section was more extensive and required more subtle fabrication. The lower corner has a distinct curve but this is precisely the kind of application that I bought the
shrinker stretcher tool for. I used this to fashion what I think was a pretty good fit, although it took a while to get right.
I followed pretty much the same procedure, working with two pieces to complete the reconstruction. I then moved on to the dash area, working from the inside the car car and making a replacement for the section I had cut out earlier. This needed to be in place to provide a datum for the lip that the windshield rubber will sit on before cutting away the rot on the outside of the frame.
With this tacked in, I was able to fabricate a piece to form the outside edge.
There was also a small pinhole that needed to be plugged. I had read somewhere that it was possible to use a non ferris metal, such as copper or brass, to back the weld and allow the weld pool to spread without attaching to the backing piece. I made this 'custom' tool using an off-cut of copper pipe.
Worked a treat.
Over the next couple of hours I finished up the repair, adding a further small piece to the windshield corner and joining up all the welds. I then cleaned up with the angle grinder as best I could.
I realise now that I need something more subtle to dress the welds in such tight areas, something more powerful than the Dremel I tried a while back. I do have an air die grinder somewhere....that might do the trick.
< previous post next post >


Comments
Post a Comment