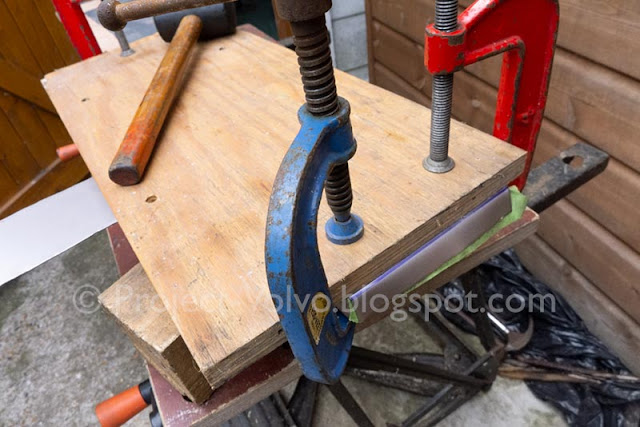
My new 1mm sheet steel has arrived, along with some additional angle and flat bar... but more of that in a moment.
Using the refined ply forms, I have now made the boot floor rear edge piece again and I am much happier with it. Going for the extra gauge steel was definitely the right decision and this new panel feels much more substantial.
I have had a full test fitting with all panels, which is looking pretty good.
The next issue concerns the rear inner arch to which spare wheel well side and floor is to be attached. There is some rust here and so this will need to be repaired before the really serious welding/reconstruction of the boot floor can begin. Although only a relatively small area, complex curves and profiles need to be created. I realised then that I had need of more fabrication tools.
Here then is a description of how I fashioned a DIY sheet metal brake; a means by which I can easily and precisely create folds in sheet metal of up to around 90˚or so. This construction utilised using wood, 3 lengths of angle bar, a length of flat bar, some M8 nuts and bolts and a couple of M12 coach bolts.
I started off making a base by glueing/screwing together two lengths of hardwood reclaimed from an old sideboard.
I then took a pair of steel hinges and modified them. I removing the pins and flipped over one half of each hinge. This is necessary to allow the brake to pivot along the fold line, without displacement.
I cut three 1m lengths of angle bar using a disc cutter/angle grinder. On one length, which will form the pivot to actually bend the sheet metal, I marked out positions for the hinges. I then cut recesses for the hinges, again using my angle grinder.
I lined up and clamped the hinges against the second length of angle set on the edge of the wooden base as shown, ensuring that as the first piece was pivoted, the gap remained consistent.


Once I was happy with the alignment, I screwed the hinges to the wooden base.
I did not at this point attach the hinges to the pivoting angle bar. Instead I switched my attention to the third length of angle bar which would be used to clamp down the sheet and form the edge for the sheet to be folded over. I cut out two recesses to clear the hinges.
I then positioned this bar and worked out where I wanted the clamp bolts to be. I filed the top edge to form a slight flat and help with marking/punching, then drilled out a 12mm hole using my bench/pillar drill.
I then performed another test fit and clamping before marking out, drilling and bolting the hinge to the pivot bar
I carefully positioned the 'clamp' bar and marked through the previously drilled 12mm holes to then drill through base.
I flipped the base over and drilled a recess using a forstner bit. Then fitted two M12 coach bolts through them the base, bolting tight using spring washers.
Finally, I drilled two more holes through the base of the now finished brake to allow me to bolt it up to the edge of my workbench.
With everything in place I attempted a fold. I attached a large pair of locking pliers to the pivot bar to effect the bend. I plan to make some more sophisticated levers when I can find same scrap box section or round bar, but for the time being the pliers seem to do the job.
The results are encouraging and although I think some practice and possibly refinement may be required, certainly to bend long pieces or thinker steel such as the 16 gauge I am using for chassis box section, overall I am pretty pleased with my efforts.
I have also identified a second 'essential' tool, but more of that in the nest post.


Comments
Post a Comment